
Follow Me On Social Media!
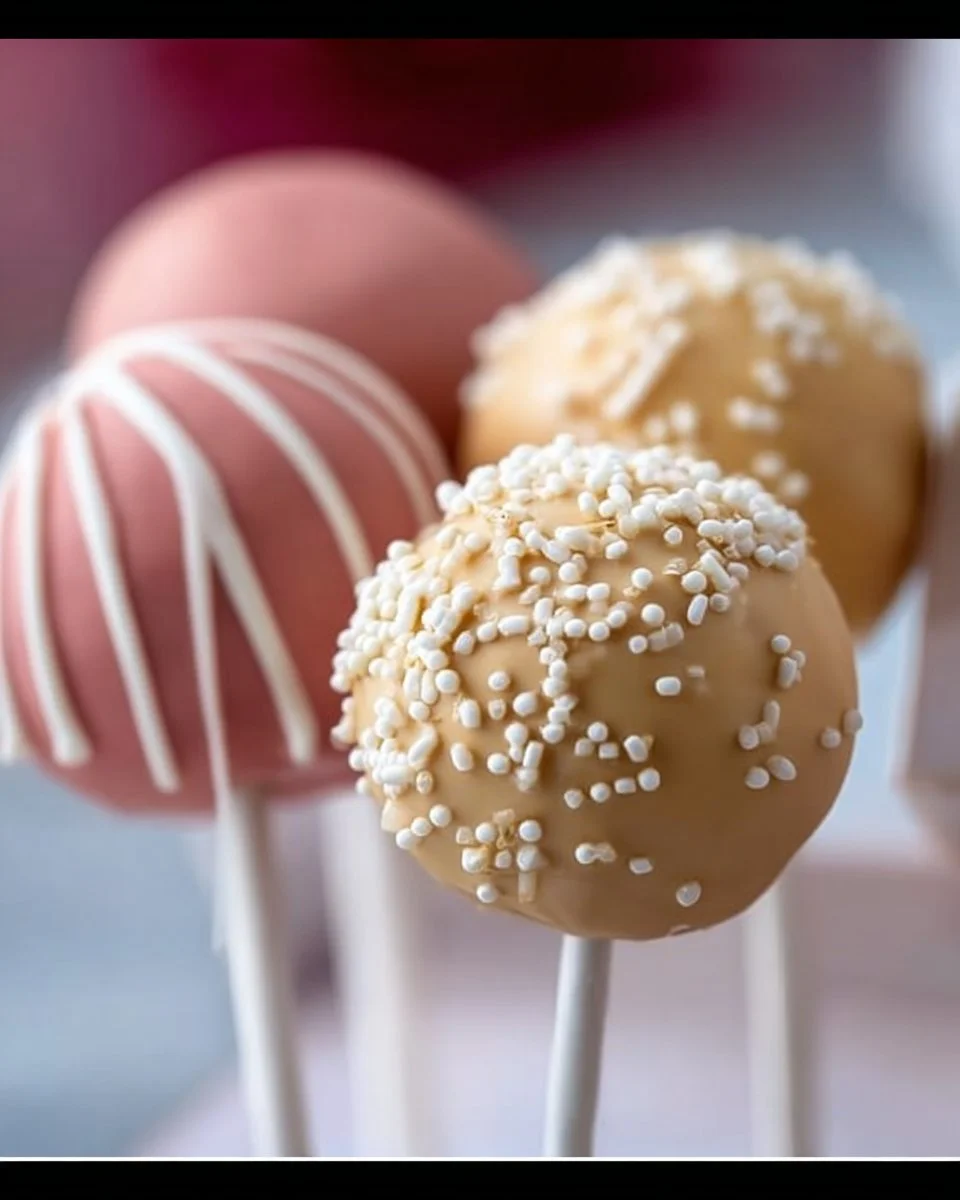
Starbucks Cake Pops
When it comes to indulgent snacks that are unexpectedly delightful and fun to make, Starbucks Cake Pops hold a special place in many hearts (and bellies!). These little bites of joy have become synonymous with sweet moments, perfect for celebrations, gifting, or simply treating yourself. From birthdays to casual gatherings, there’s hardly a wrong occasion for these charming pops. I remember the first time I shared them with friends at a gathering; the smiles and compliments were endless! There’s just something magical about cake pops, and I’m excited to share how you can recreate Starbucks’ beloved treat right at home.
Why You’ll Love Making It
What makes this recipe special is its perfect blend of simplicity and creativity. With just a handful of ingredients, you can whip up a dessert that looks like it came straight from a bakery. This recipe is incredibly budget-friendly, making it ideal for entertaining without breaking the bank. Plus, kids love them! Cake pops are fantastic for involving younger helpers in the kitchen, teaching them the joys of baking while creating a sweet masterpiece.
“I made these cake pops for my daughter’s birthday, and they were a hit! So easy and fun, I’ll definitely make them again.” – A happy home baker
Your Easy Cooking Guide
Creating your own Starbucks Cake Pops can be a delightful and straightforward journey. The process involves baking, crumbling, combining, and coating—making it not just a recipe but a fun activity! You’ll be able to bring a touch of café culture into your own kitchen with these sweet bites. Here’s how to prepare:
- Bake the cake.
- Crumble it up.
- Mix in the frosting.
- Shape into balls and dip in candy coating.
Now that you have the overview, let’s get into the specifics!
Gather Your Ingredients
For this fun treat, you’ll need the following items:
- 1 box vanilla cake mix (any brand you love works!)
- 1 can frosting (vanilla or your choice for flavor variation)
- 1 package melted candy coating (choose between white and colored)
- Lollipop sticks
Feel free to swap the vanilla frosting for chocolate or any other flavor that excites your taste buds. You can even get creative with different candy coating colors for themed occasions!
Step-by-Step Directions
- Bake the vanilla cake according to the package instructions. Once done, let it cool completely.
- Crumble the cooled cake into a large bowl until it resembles fine crumbs.
- Add the frosting to the crumbled cake and mix until everything is well combined.
- Roll the mixture into small balls and place them on a lined baking sheet.
- Melt the candy coating according to the package instructions until smooth.
- Dip the end of each lollipop stick in the melted candy, then insert it into the center of each cake ball.
- Once all sticks are inserted, dip each cake pop into the melted candy. Ensure they’re well-coated.
- Place the cake pops upright in a stand or styrofoam block to let them dry completely.
- Optional: Decorate with sprinkles or additional toppings if desired for that extra flair.
- Allow to set before serving, ensuring they firm up for easy handling.
Best Way to Serve
Starbucks Cake Pops make a delightful standalone snack, but you can easily elevate their presentation! Consider arranging them in a cute dessert platter alongside coffee or tea for a brunch. They’re also a whimsical addition to birthday parties or holiday gatherings. For an interactive experience, set up a decorating station for guests to add their favorite toppings before enjoying!
Storage Tips
To keep your cake pops fresh longer, store them in an airtight container at room temperature for up to five days. If you’re looking to extend their life, you can refrigerate them for up to two weeks. For longer storage, freeze the cake pops, making sure they are well-wrapped to prevent freezer burn. When ready to enjoy, simply let them thaw at room temperature.
Pro Chef Tips
- Chilling the cake mixture before rolling can make it easier to shape into balls.
- If your cake pops are falling off the sticks, ensure the cake mixture is well-combined and moist enough.
- Melt the candy coating on low heat to avoid scorching; patience is key for a smooth finish!
- Experiment with flavored cake mixes and frosting for unique variations.
Creative Twists
- Chocolate Cake Pops: Swap the vanilla cake mix for chocolate cake mix for a rich alternative.
- Festive Toppings: Use crushed nuts, cookies, or themed sprinkles to customize your pops for holidays or parties.
- Gluten-Free Option: Use a gluten-free cake mix and frosting to cater to dietary needs without compromising flavor.
- Dairy-Free Version: Look for dairy-free frosting and candy coating to make this recipe accessible for lactose-intolerant friends.
Your Questions Answered
How long does it take to make cake pops from start to finish?
Total preparation time typically ranges around 1.5 to 2 hours, including baking, cooling, and setting.
Can I use any type of frosting?
Absolutely! While vanilla is traditional, mix it up with chocolate, cream cheese, or even fruit-flavored frosting for exciting combinations.
What’s the best way to decorate them?
Use melted chocolate drizzles, colored sprinkles, or crushed candies for decorative flair.
Can I freeze cake pops?
Yes! Ensure they are wrapped well, and they should maintain quality for up to three months in the freezer.
With this guide, you’re all set to dive into the art of making Starbucks-like Cake Pops at home! Enjoy the process, have fun decorating, and indulge in your delicious creations. Happy baking!
Print
Starbucks Cake Pops
- Total Time: 60 minutes
- Yield: 12 servings 1x
- Diet: Vegetarian
Description
Delightful Starbucks-inspired cake pops that are easy to make and perfect for any celebration.
Ingredients
Scale
- 1 box vanilla cake mix
- 1 can frosting (vanilla or your choice)
- 1 package melted candy coating (white or colored)
- Lollipop sticks
Instructions
- Bake the vanilla cake according to the package instructions and let it cool completely.
- Crumble the cooled cake into a large bowl until it resembles fine crumbs.
- Add the frosting to the crumbled cake and mix until everything is well combined.
- Roll the mixture into small balls and place them on a lined baking sheet.
- Melt the candy coating according to the package instructions until smooth.
- Dip the end of each lollipop stick in the melted candy, then insert it into the center of each cake ball.
- Dip each cake pop into the melted candy until well-coated.
- Place the cake pops upright in a stand or styrofoam block to let them dry completely.
- Decorate with sprinkles or additional toppings if desired.
- Allow to set before serving.
Notes
Store cake pops in an airtight container at room temperature for up to five days. For longer storage, refrigerate for up to two weeks or freeze for up to three months.
- Prep Time: 30 minutes
- Cook Time: 30 minutes
- Category: Dessert
- Method: Baking
- Cuisine: American
Nutrition
- Serving Size: 1 cake pop
- Calories: 120
- Sugar: 10g
- Sodium: 150mg
- Fat: 5g
- Saturated Fat: 2.5g
- Unsaturated Fat: 2g
- Trans Fat: 0g
- Carbohydrates: 18g
- Fiber: 0g
- Protein: 2g
- Cholesterol: 30mg
Keywords: cake pops, Starbucks, dessert, baking, party treats, easy recipes